Table of Contents
ToggleA glass backsplash transforms a kitchen faster than almost any other single renovation. It catches light, reflects your personal style, and creates a sleek backdrop that works with minimalist, industrial, or transitional design. Unlike traditional tile, glass offers easy cleanup, depth, and visual interest without demanding hours of grout maintenance. Whether you’re updating a dated kitchen or starting fresh, installing a glass backsplash is an achievable DIY project if you approach it methodically. This guide walks through selection, planning, and installation so you can tackle it confidently.
Key Takeaways
- A glass backsplash kitchen transforms your space quickly, catches light, and offers superior hygiene compared to ceramic or stone since glass is nonporous and resists staining and bacteria growth.
- Glass backsplash materials range from classic 3″×6″ subway tiles to larger formats and mosaics in clear, frosted, colored, or textured finishes, allowing you to customize your design while minimizing grout lines.
- Successful installation requires precise measuring, careful layout planning starting from a focal point like your range, and using modified thin-set mortar with the correct notch trowel size to achieve 85% coverage on the tile back.
- A DIY glass backsplash project is achievable if you prep the wall properly with primer, use a wet saw with a glass blade for cutouts, and allow 24 hours for mortar cure and 72 hours for epoxy grout cure before full use.
- Maintain your glass backsplash with daily damp cloth cleaning and immediate wipe-ups to prevent water spots; keep spare tiles on hand for chip or crack repairs to ensure seamless color matching and longevity.
Why Choose a Glass Backsplash for Your Kitchen
Glass backsplashes offer distinct advantages over ceramic, porcelain, or natural stone. They’re nonporous, meaning they resist staining and bacterial growth, a real hygiene win in a space where you prep food. Spills wipe clean in seconds with a damp cloth, no grout lines to harbor debris.
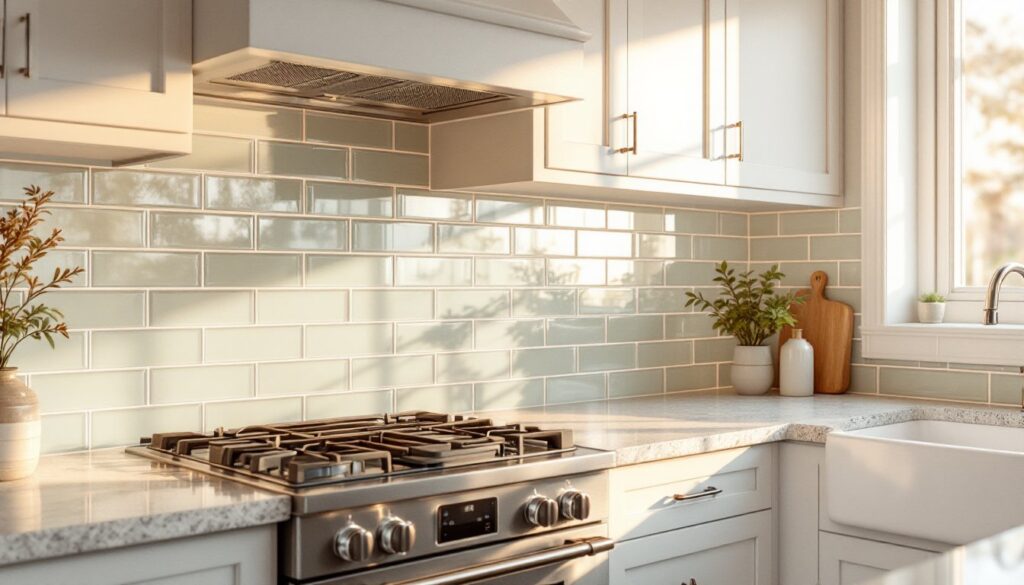
From a design perspective, glass amplifies light and opens up the visual space, especially in compact kitchens or those with minimal natural light. You can choose from clear, frosted, colored, or even textured glass, and it pairs seamlessly with modern cabinetry, stainless steel appliances, and open shelving.
The main trade-offs: glass is more fragile during installation than tile, more expensive upfront, and requires precision cutting if you need custom shapes. It also shows water spots and fingerprints more visibly, though that’s a maintenance habit, not a dealbreaker. For homeowners seeking a polished, contemporary kitchen, the aesthetic and durability payoff justifies the effort.
Types of Glass Backsplash Materials
Subway Tiles and Textured Finishes
Subway tile remains the classic choice, typically 3″ × 6″ rectangular glass panes in clear or satin finishes. This profile works with grout lines (thin, wide, or none, depending on preference) and plays well with both contemporary and transitional kitchens. Textured glass, molded with ridges or wavy patterns, adds visual interest and reduces gloss reflection if you prefer a softer look.
You’ll also find glass tiles in 2″ × 2″ mosaics, 4″ × 4″ squares, and custom 6″ × 12″ or 8″ × 8″ sheets. Larger format tiles mean fewer grout lines and faster installation, though they require more careful handling and cutting. Mosaic tiles let you create intricate patterns and offer the security of smaller pieces if breakage occurs.
Color options run the gamut: crystal clear, frosted, soft whites, grays, greens, blues, and warm neutrals. Some manufacturers offer metallic or iridescent finishes that shift subtly depending on light angle, stunning but pricey. Mixed-finish options (combining clear and frosted, for example) add personality without overwhelming the space. Consider pulling inspiration from kitchen with glass tile backsplash ideas to see how different finishes perform in real kitchens before committing to a material.
Planning Your Glass Backsplash Project
Measuring, Design Considerations, and Color Selection
Measure the backsplash area in inches from countertop to the bottom of wall cabinets. Most codes suggest a minimum 18″ height, though many homeowners run glass to 24″ or the full wall. Account for electrical outlets, vents, and range hoods, you’ll need to tile around them or pre-cut openings, a task that’s more involved with glass than ceramic.
Next, decide on layout. Will tiles run horizontally (subway-style), vertically, in a herringbone pattern, or in a custom mosaic? Horizontal layouts feel classic and contemporary: vertical feels slightly more modern. Herringbone requires more cuts and precision but looks striking. Start your layout at a focal point, usually the range or sink, and work outward, planning cuts so that slivers (less than ¼ inch) don’t dominate the perimeter.
Color selection hinges on your countertop, cabinetry, and overall palette. Clear or frosted glass is universally forgiving. Colored glass should coordinate with paint, hardware, and appliances, pull paint chips or cabinet samples to the tile showroom and view them under the same lighting. Resources like Remodelista offer curated kitchen inspiration that can help you test color combinations before purchase. Order 10–15% extra material as breakage and waste buffer: cutting glass tiles generates loss, and replacement orders sometimes ship different hues.
Installation Basics for DIY Homeowners
Installation requires patience, not advanced skill. First, prep the wall: remove outlets and switch plates, clean surface thoroughly, and prime with glass tile primer (not standard drywall primer, this tackier formula aids adhesion). If the wall is irregular, apply a leveling compound and sand smooth.
Apply modified thin-set mortar (not mastic: it stays workable longer and adheres better than organic adhesive) with a notched trowel matching your tile size, typically ¼” × 3/8″ for subway tiles, ½” × ½” for larger formats. Notch size matters: the ridges should flatten and fill roughly 85% of the tile back when seated. Spread mortar in small sections, 2–3 square feet, so it doesn’t skin over before you place tiles.
Set tiles starting from your marked centerline, pressing each firmly with a slight twisting motion and using spacers to maintain consistent gaps (typically ⅛” for a clean look). Check frequently with a level. Work methodically and don’t rush: crooked tiles are visible and costly to reset.
For cutouts around outlets or vents, mark the opening on tile back with a wet-erase marker, then use a wet saw with a glass blade (not a dry grinder, water cooling prevents thermal shock and chipping). Let mortar cure 24 hours before grouting. Use epoxy grout rather than urethane or cement: it’s more stain-resistant and less permeable, crucial for a surface that splashes. Apply grout with a rubber float at a 45° angle, overfill slightly, then drag back at 45° in the opposite direction to pack gaps. Wipe excess grout with a damp sponge after 15–30 minutes. Final cure takes 72 hours.
If you’re uncertain about cutouts or wall condition, consult a tile setter for that portion, many will cut pieces for a modest fee, allowing you to handle installation. Permit requirements vary: most municipalities don’t require permits for cosmetic kitchen updates, but verify with your local building department. If you’re relocating electrical or venting, or if the backsplash area extends significantly, a permit may be necessary.
Maintenance and Long-Term Care
Glass backsplashes demand less maintenance than many alternatives but aren’t entirely carefree. Wipe spills immediately to prevent water spotting and dried splatter. Daily cleaning with a damp cloth and mild dish soap is sufficient: avoid abrasive scrubbers or powders, which can dull the finish.
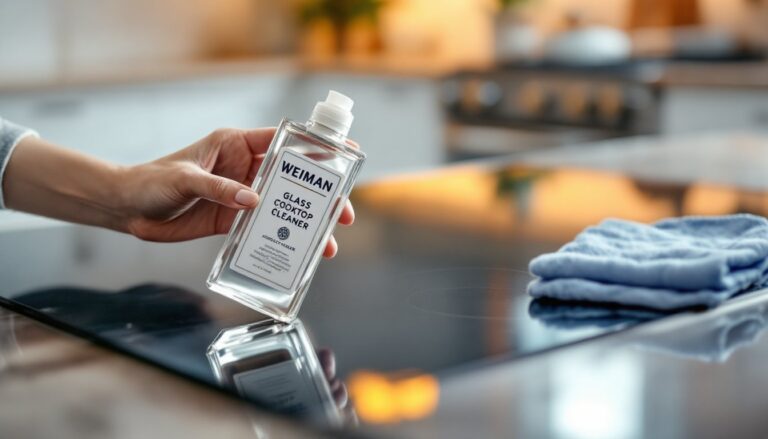
For stubborn buildup, use a glass cleaner (vinegar and water works fine) and microfiber cloth. Inspect grout lines monthly for discoloration or mildew, especially near the sink. Epoxy grout resists stains, but promptly address any small gaps where water might penetrate: apply silicone caulk to seal the joint between backsplash and countertop, creating a moisture barrier.
If a tile chips or cracks, replacement is feasible but requires care: gently remove grout around the damaged piece with a grout saw, pop out the tile, scrape away old mortar, and reset with fresh thin-set. Keep spare tiles on hand for this. Because glass is brittle, accidental impacts happen, keeping a reserve prevents panic and ensures color matching. Planning renovation timelines and understanding realistic costs can be aided by consulting home renovation cost guides to budget for both materials and any professional assistance you might need.