Table of Contents
ToggleMost kitchens leave money on the table, literally. The gap between standard 36-inch upper cabinets and the ceiling wastes anywhere from 15 to 20 cubic feet of prime storage space. Floor-to-ceiling kitchen cabinets eliminate that dead zone, turning an awkward architectural gap into functional storage while creating a cleaner, more intentional look. Whether you’re building custom cabinetry or retrofitting stock units, going from floor to ceiling transforms both how a kitchen functions and how it feels. This guide walks you through what these cabinets are, why they make sense, and how to plan, install, and maintain them.
Key Takeaways
- Floor-to-ceiling kitchen cabinets eliminate 15 to 20 cubic feet of wasted overhead space, nearly doubling storage capacity compared to standard 36-inch upper cabinets and creating a more finished, intentional kitchen aesthetic.
- Floor-to-ceiling cabinets improve both functionality and visual flow by removing dusty ledges, reducing cleaning maintenance, and making the kitchen feel more sophisticated regardless of door style or finish choice.
- Stock cabinets cost $100–$300 per linear foot while semi-custom runs $300–$500 and fully custom reaches $500–$1,500+, so budget 20–30% more than standard cabinetry and factor in installation labor and wall prep costs.
- Successful installation requires locating wall studs, anchoring tall cabinets with 2.5-inch wood screws, using a 4-foot level for precision, and installing from bottom up with proper shimming—a task best handled by professionals for best results.
- Measure your actual finished ceiling height (typically 8 to 10 feet) and wall condition before ordering to avoid costly mistakes and ensure floor-to-ceiling cabinets fit perfectly in your space.
What Are Floor-To-Ceiling Kitchen Cabinets?
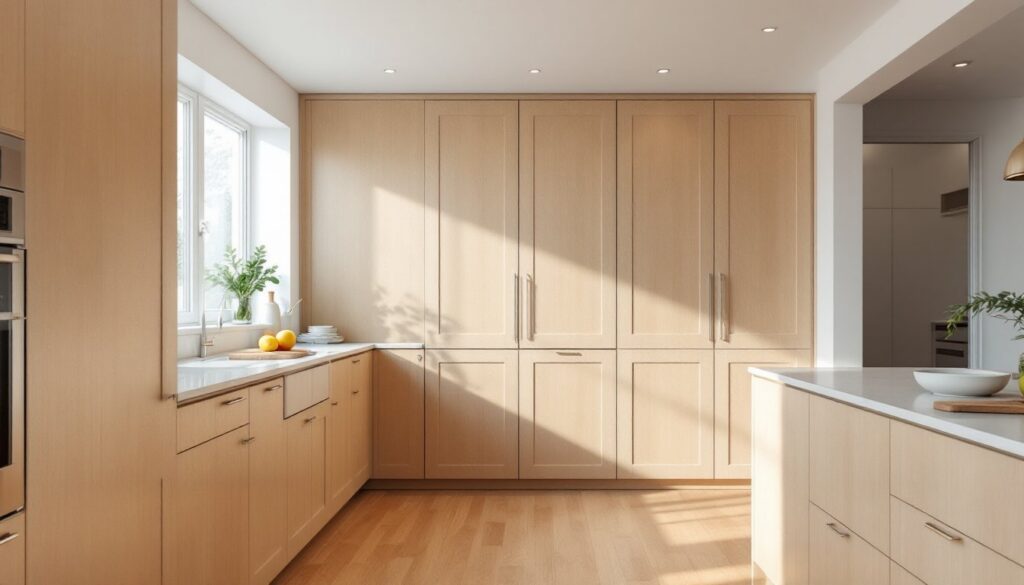
Floor-to-ceiling kitchen cabinets run from the finished floor all the way up to the ceiling, typically 8 to 10 feet depending on your kitchen’s height. Unlike standard layouts, which usually max out at 84 inches (upper cabinets at 36 inches plus a 48-inch base), full-height cabinetry reclaims the overhead real estate.
These cabinets come in a few configurations. The most common is a base run (typically 34.5 inches tall, or 36 with countertop) topped by wall cabinets that stretch to the ceiling. Some homeowners install a second tier of wall cabinets above the standard 30-inch gap, then add a soffit-height cabinet run at the top. Others go truly wall-to-wall with a unified tall cabinet bank, especially along a single wall or island.
Stock cabinets are sold in standard heights: 12, 15, 18, 24, and 30 inches for wall units. Mixing heights and stacking them gets you to ceiling. Semi-custom and fully custom cabinets offer single tall units built to your exact height, which eliminates seams and looks more integrated. Ceiling height varies by home, some are 8 feet, others 9 or 10, so measure your actual finished ceiling height, not just guess.
Why Choose Floor-To-Ceiling Cabinets Over Standard Options
Storage density is the obvious win. A 24-inch-tall wall cabinet runs about 9 cubic feet. Add a second 24-inch tier above it and you’ve nearly doubled your storage without expanding the kitchen footprint. For a family that cooks frequently or has a growing pantry, that difference is tangible.
Beyond raw capacity, floor-to-ceiling cabinets create visual continuity. A standard kitchen with wall cabinets stopping short leaves a ledge and exposed wall above, a dead zone that collects dust and interrupts sightlines. Full-height cabinetry makes the space feel intentional and finished. Ceilings appear higher. The room reads as more sophisticated, whether you choose modern flat-panel doors or traditional raised-panel styles.
They also reduce cleaning headaches. No ledge means nowhere for grease and dust to settle above the cabinets. A single wipeable surface is easier to maintain than cabinets with exposed gaps. Finally, they’re practical for accessibility: drawers and rollout shelves at mid-height are easier on the back than reaching to the tippy-top of a 30-inch cabinet, and upper shelves become more usable when they’re only 6 to 7 feet up instead of 8.
Design Styles and Material Choices
Style follows the same rules as any cabinet: pick doors, finishes, and hardware that complement your kitchen’s bones. Floor-to-ceiling cabinets don’t mandate a look, they adapt to yours.
Raised-panel and shaker-style doors work across traditional, farmhouse, and transitional kitchens. Modern flat-panel or slab doors suit contemporary spaces and keep sightlines clean. Mixing open shelving with closed cabinets (especially at the top) softens the visual weight of a full wall. Some designers frame the ceiling-height run with a contrasting color or texture to break it up.
Material-wise, maple, oak, and cherry are classic choices. Plywood with veneer saves cost while offering stability across tall runs. Thermofoil (vinyl-wrapped MDF) is budget-friendly and durable, though not as long-lasting as solid wood in humid kitchens. Hardware, knobs and pulls, becomes more important at full height because you’ll see them more frequently.
Sources like Houzz and Remodelista showcase countless kitchen layouts, color palettes, and material combinations to spark ideas. Browse real kitchens, not just renders. Note which finishes appeal to you and which layouts solve problems similar to yours.
Cost Considerations and Budgeting
Stock cabinetry runs $100–$300 per linear foot: semi-custom, $300–$500: fully custom, $500–$1,500+. A 10-foot wall of floor-to-ceiling cabinets in stock units might cost $1,000–$3,000 plus installation. Custom work for the same wall could hit $10,000–$15,000 or more depending on wood species, hardware, and finish complexity.
Tall cabinets demand precision in install, which adds labor cost. If you’re replacing existing cabinetry, removal and disposal run $500–$1,500. Wall prep (shimming, blocking, leveling) isn’t glamorous but is essential and sometimes costly if your walls are out of square, common in older homes.
Building up with stock units (stacking a 30-inch upper on a 24-inch upper, for instance) costs less than one tall custom cabinet but requires shims and scribing to fit ceiling gaps. A filler strip at the top hides those gaps and costs $30–$100.
Budget 20–30% more than single-height cabinets of the same quality. Consider a phased approach: install base cabinets and mid-height uppers first, then add a top tier when funds allow. That said, an integrated design installed all at once looks cleaner than a patchwork retrofit.
Installation Tips for DIY Enthusiasts
Floor-to-ceiling installation is doable for a handy person, but honesty matters: tall cabinets are heavy, require precision, and demand a helper. A 36-inch-tall cabinet loaded with dishes weighs 150+ pounds. Getting it level and secure 60 inches up takes time and care.
Start by locating wall studs, mark them with a pencil at multiple heights. Tall cabinets must anchor into studs with 2.5-inch wood screws, not just drywall anchors. Use a level, a 4-foot or 6-foot model, to check plumb on the cabinet sides and front frame, not just eyeballing it. Most cabinets include a rail or mounting strip on the back: this fastens to studs.
Prepare the wall: patch, sand, and prime any spots. Caulk gaps between the cabinet and walls after installation, use paintable silicone, not acrylic, for durability. Cut a template from kraft paper for the countertop opening if you’re installing base cabinets: this saves expensive mistakes.
Install from bottom up. Set base cabinets first, shim and level them, then screw through the rear rail into studs. Space wall cabinets 18 inches above the countertop by default, but verify your microwave or range hood height first. Use a cabinet installation rail or L-brackets to hang upper units, securing each to studs before moving to the next unit.
Leave yourself access for plumbing and electrical. If a tall cabinet conceals pipes or outlet boxes, plan removable panels or access doors beforehand. Check your local building code, some jurisdictions require cabinet fastening specifics, especially for seismic zones. An unattached tall cabinet can topple, a serious safety hazard in homes with kids or pets.
Resources like This Old House’s cabinet guide detail cabinet anatomy and fastening methods worth reviewing before you start.
Maintaining Your Floor-To-Ceiling Cabinets
Tall cabinets are as maintenance-friendly as their shorter cousins, with one advantage: no dusty tops to clean. Wipe down doors and frames monthly with a damp microfiber cloth and mild soap. For wood finishes, a wood-specific cleaner once quarterly keeps them nourished and prevents drying out.
Watch for moisture around the sink or dishwasher, water damage ruins cabinets faster than anything. Ensure your caulk seal at the top and sides stays intact: recaulk annually if it cracks. Check hinge alignment every year: a tall, heavy door can sag slightly over time, and a quick screw adjustment prevents binding.
Hardware loosens with use. Periodically tighten knobs and pull screws. Interior rollout shelves and drawer slides need a light silicone spray every few years to stay smooth.
If you ever need to repaint or refinish, plan a professional spray job if you go the full-height route. DIY brush-and-roller work on tall surfaces shows brush marks and drips more obviously. A professional HVLP spray system ($1,500–$3,000 to hire) yields a finish worth the cost for cabinets that dominate the visual space.
Conclusion
Floor-to-ceiling kitchen cabinets are a smart investment: they maximize storage, streamline aesthetics, and make a kitchen feel intentional and polished. Whether you go stock, semi-custom, or bespoke, the key is planning, measure twice, verify your ceiling height and wall condition, and don’t skip the installation fundamentals. With care and a realistic assessment of the work involved, you’ll transform wasted space into a kitchen that’s both more functional and more beautiful.